
How to Create a Blender Pattern (and Why Every Collection Needs Them)
When most people think of surface pattern design and pattern collections they think of the hero prints, you know, the big florals, the bold scenes, and the eye-catching motifs. But ask any experienced designer and they’ll tell you how important blender patterns are.
Blender patterns are the quieter, simpler heroes of a collection. This is because their job is to pull the whole collection together. Whether you’re designing for fabric, stationery, planners, home decor, or digital products, blender patterns add cohesion, versatility, and polish to your work.
In this post we will talk about:
What a blender pattern is
Why they’re important
The most popular types
A simple step-by-step method to design one
How to make blender patterns that match your style
What is a blender pattern?
A blender, or coordinate, is a simple pattern that supports the hero design without competing with it.
Typically blenders:
Have limited motifs
Use fewer colors
Are small-scale or medium-scale
Add texture, rhythm, or mood without overshadowing the main prints
Think gingham, micro polka dots, tiny florals, mini checkerboards, tone-on-tone textures, or confetti scatter.
They’re essential in all types of projects from quilting to planners and gift wrap because they allow the eyes to rest.
Why Blenders Matter in a Pattern Collection
They Create Balance
A collection filled with hero prints feels loud and chaotic. Each design is competing with the other. Blenders provide a quiet space in a collection.
They Add Usability
Blenders can make:
-Great bindings, borders, and backgrounds
-Easy coordinates for apparel
-Perfect fillers for scrapbooking and paper goods
-Versatile options for planners and stationery
A customer is a lot more likely to buy a collection if they can see how it all works together.
They Increase your Collection Size Effortlessly
While a hero pattern can take days to get just right, a blender pattern can take an hour while still adding true value to a collection.
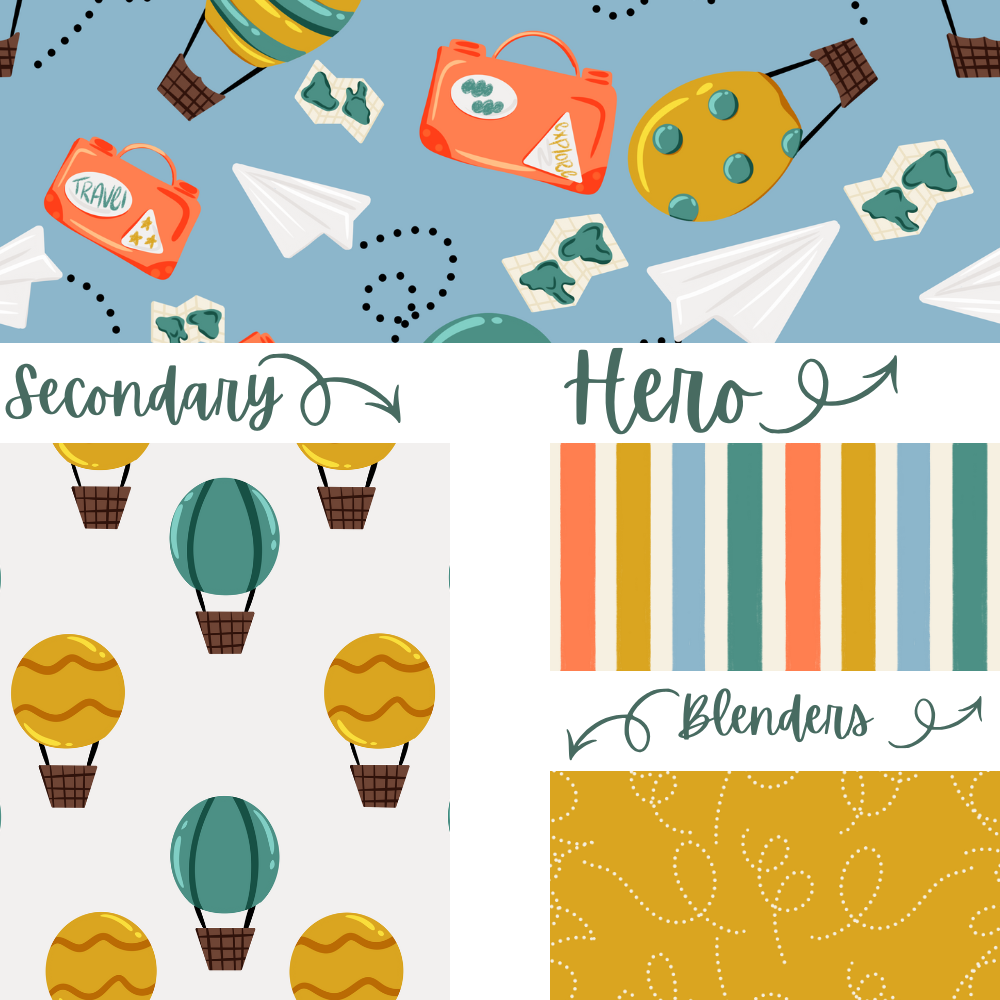
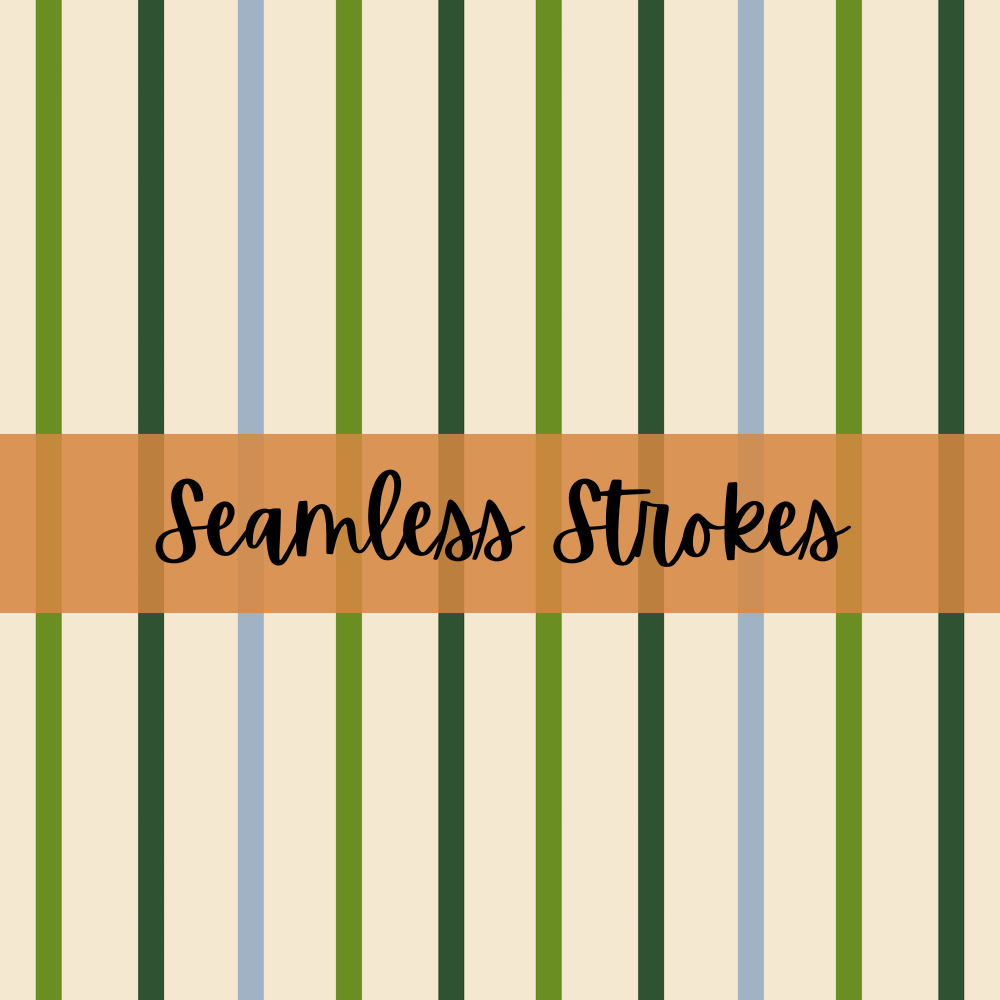
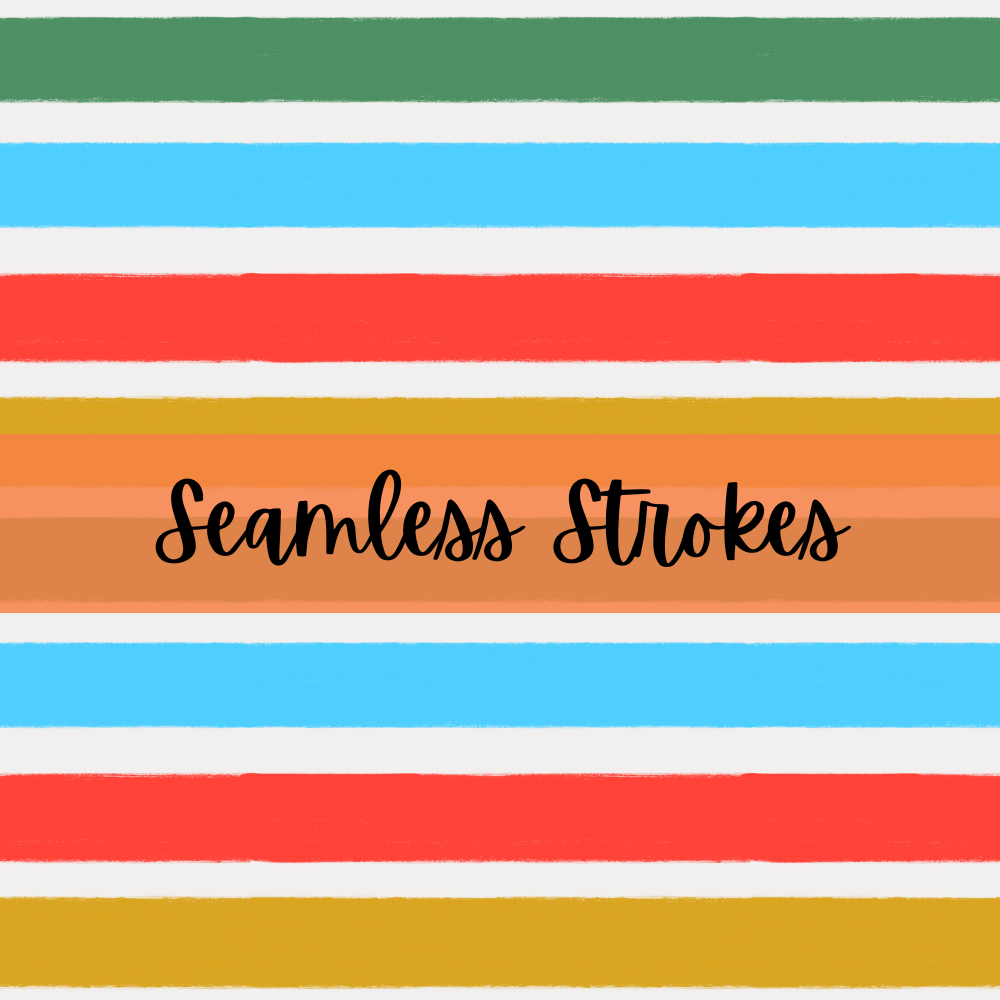
Can you spot the blenders in my collections below? Do your eyes feel rested when they come across the blender patterns? That is how your blenders can add value to a collection.
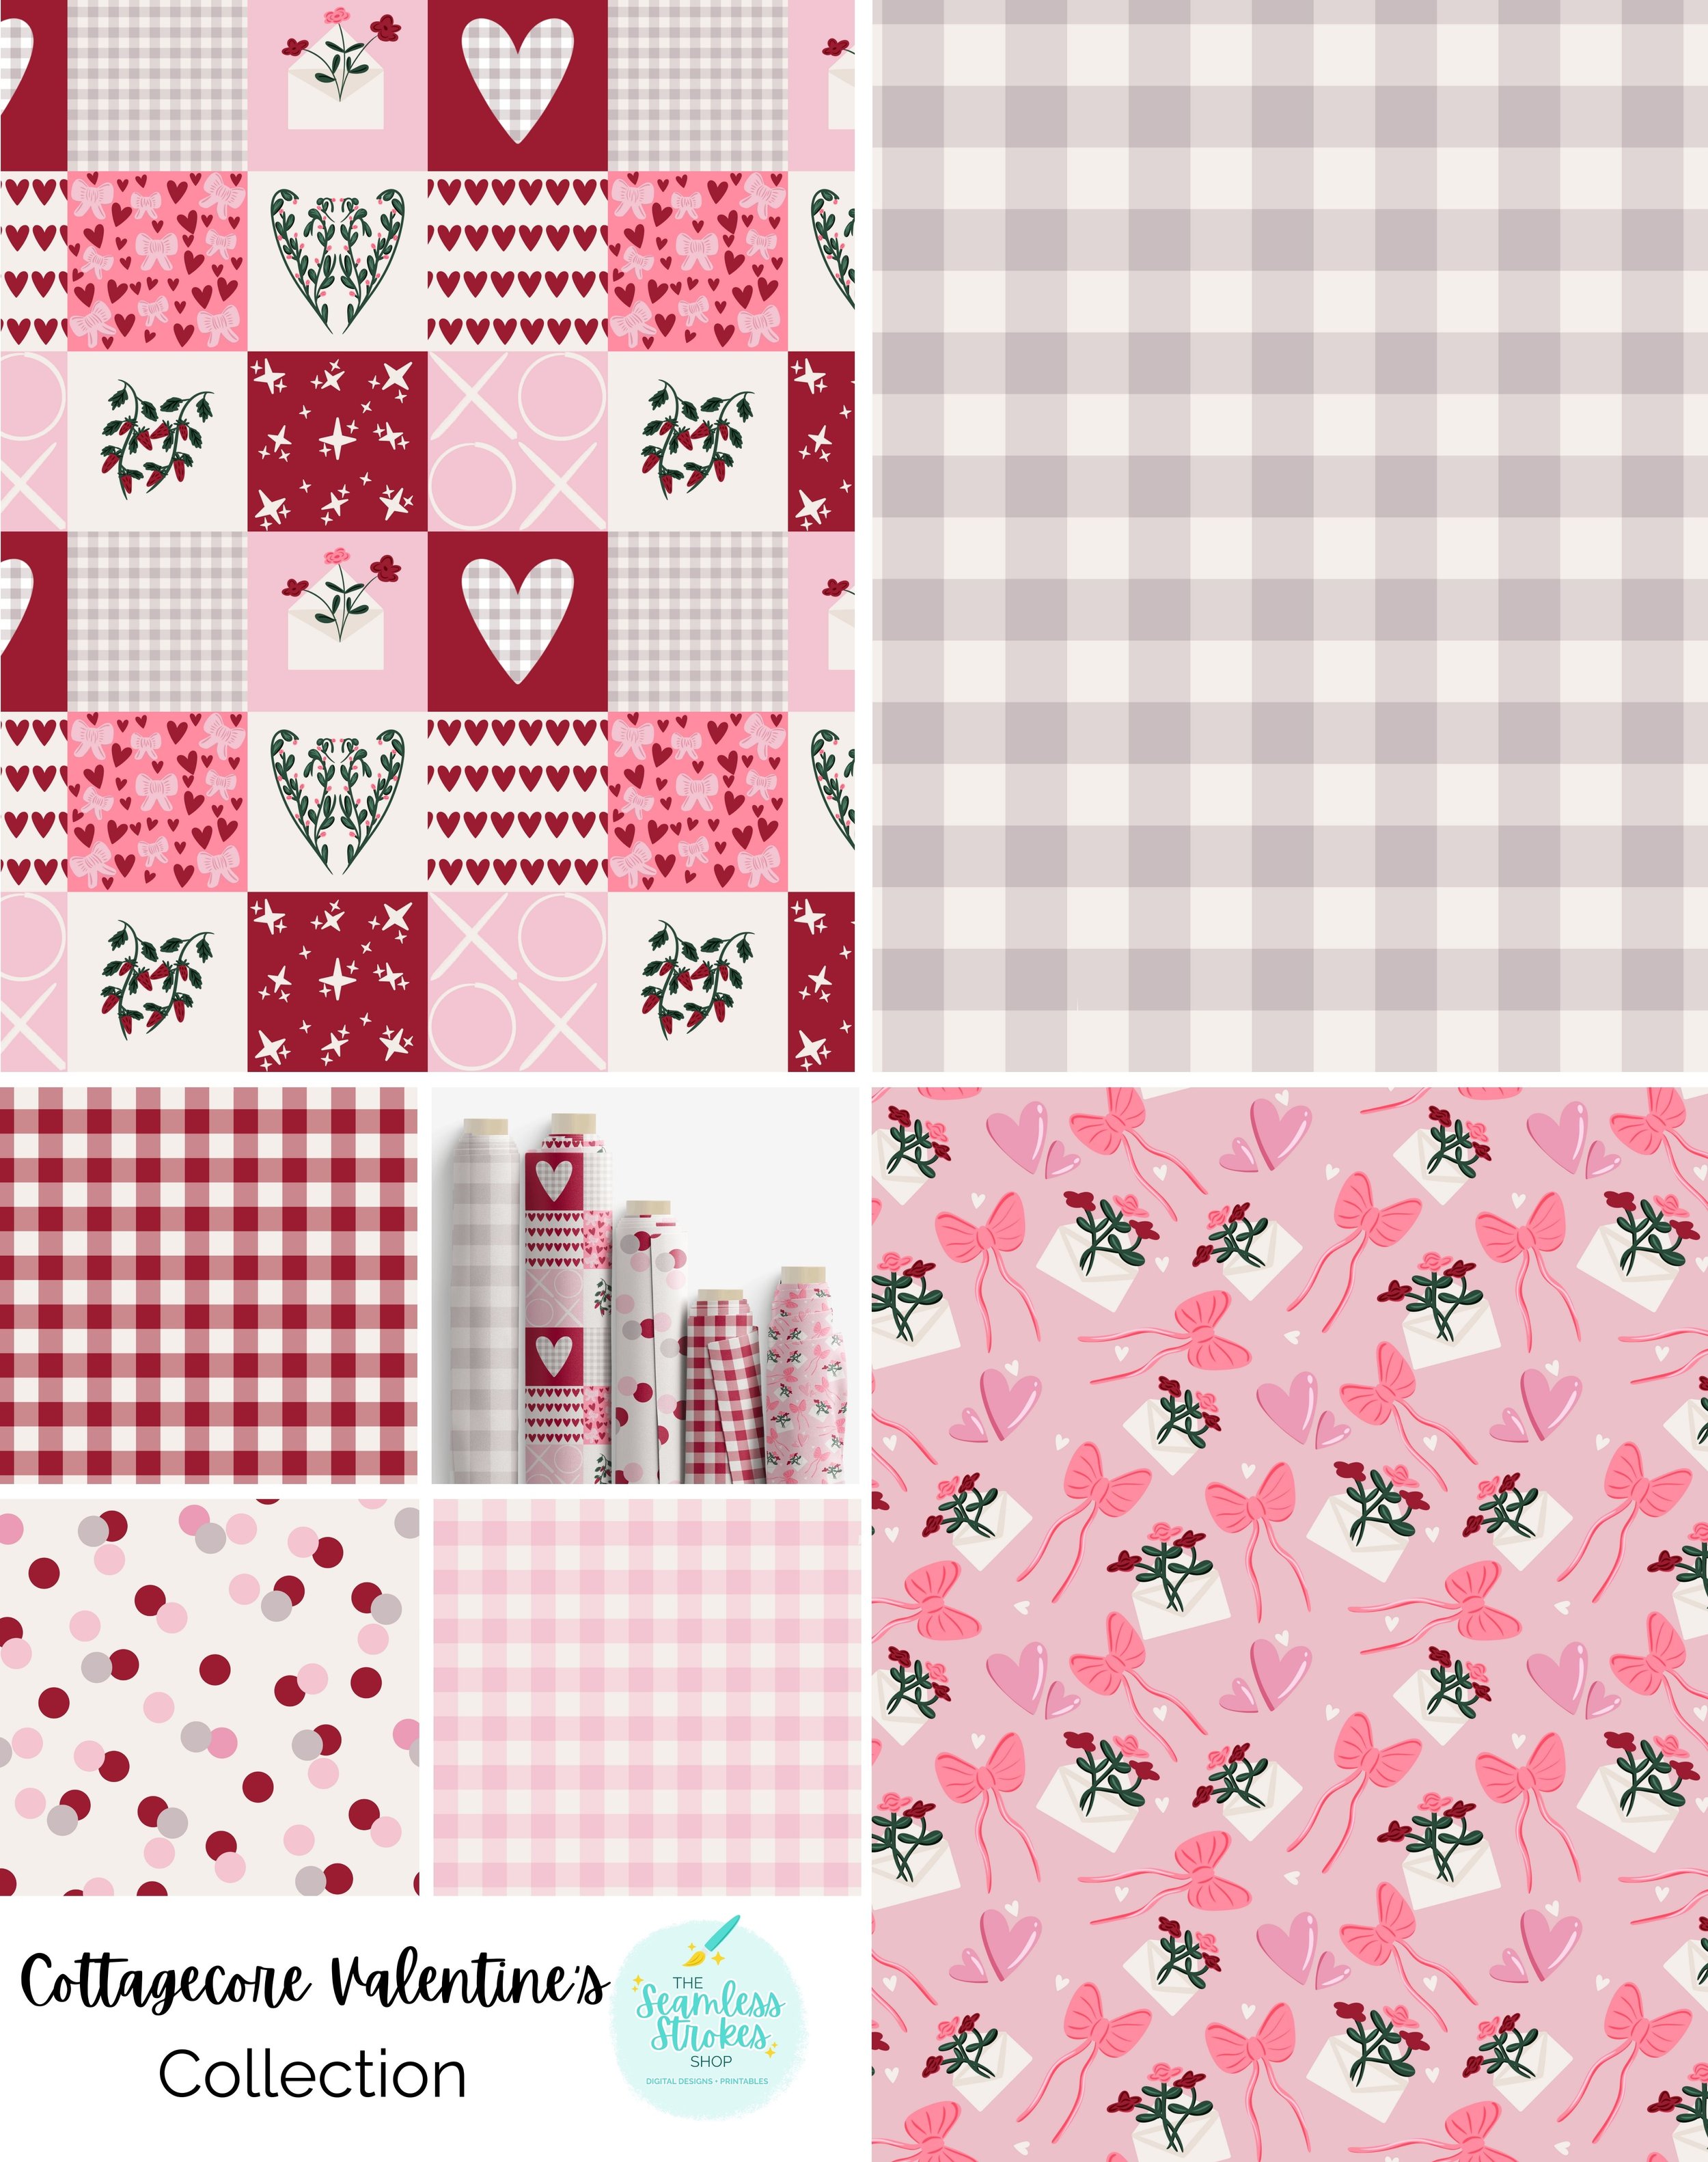
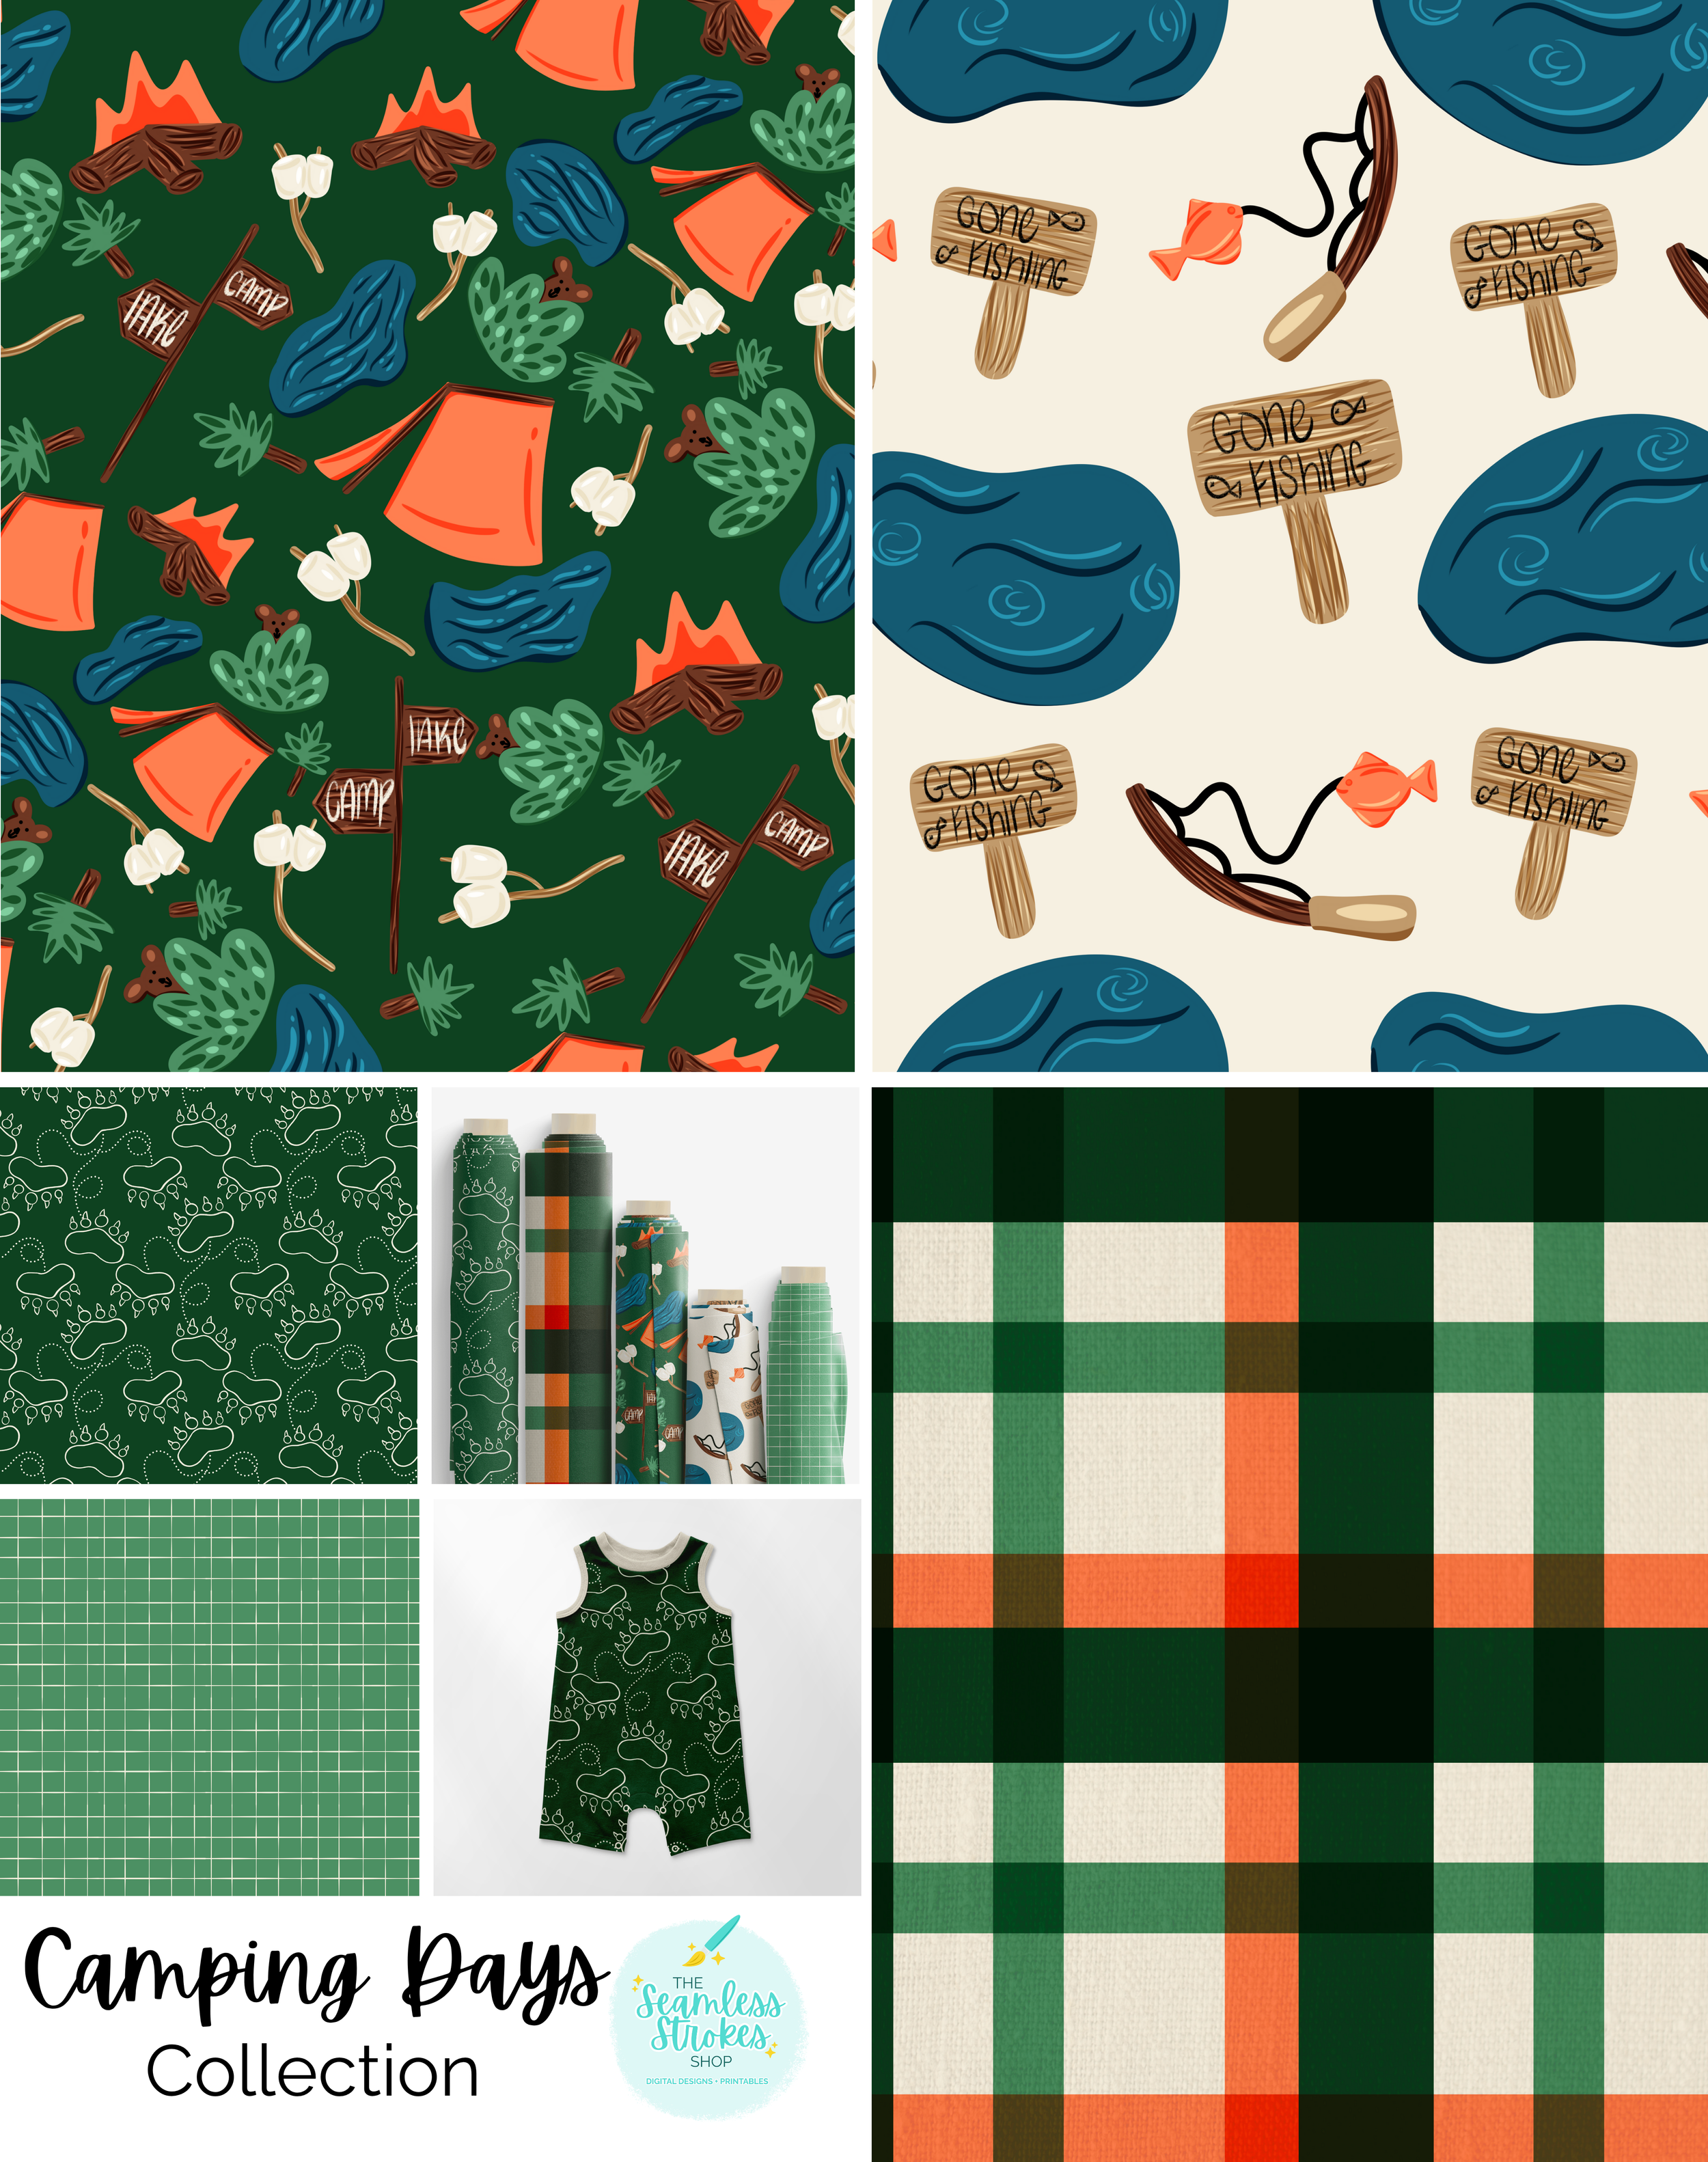
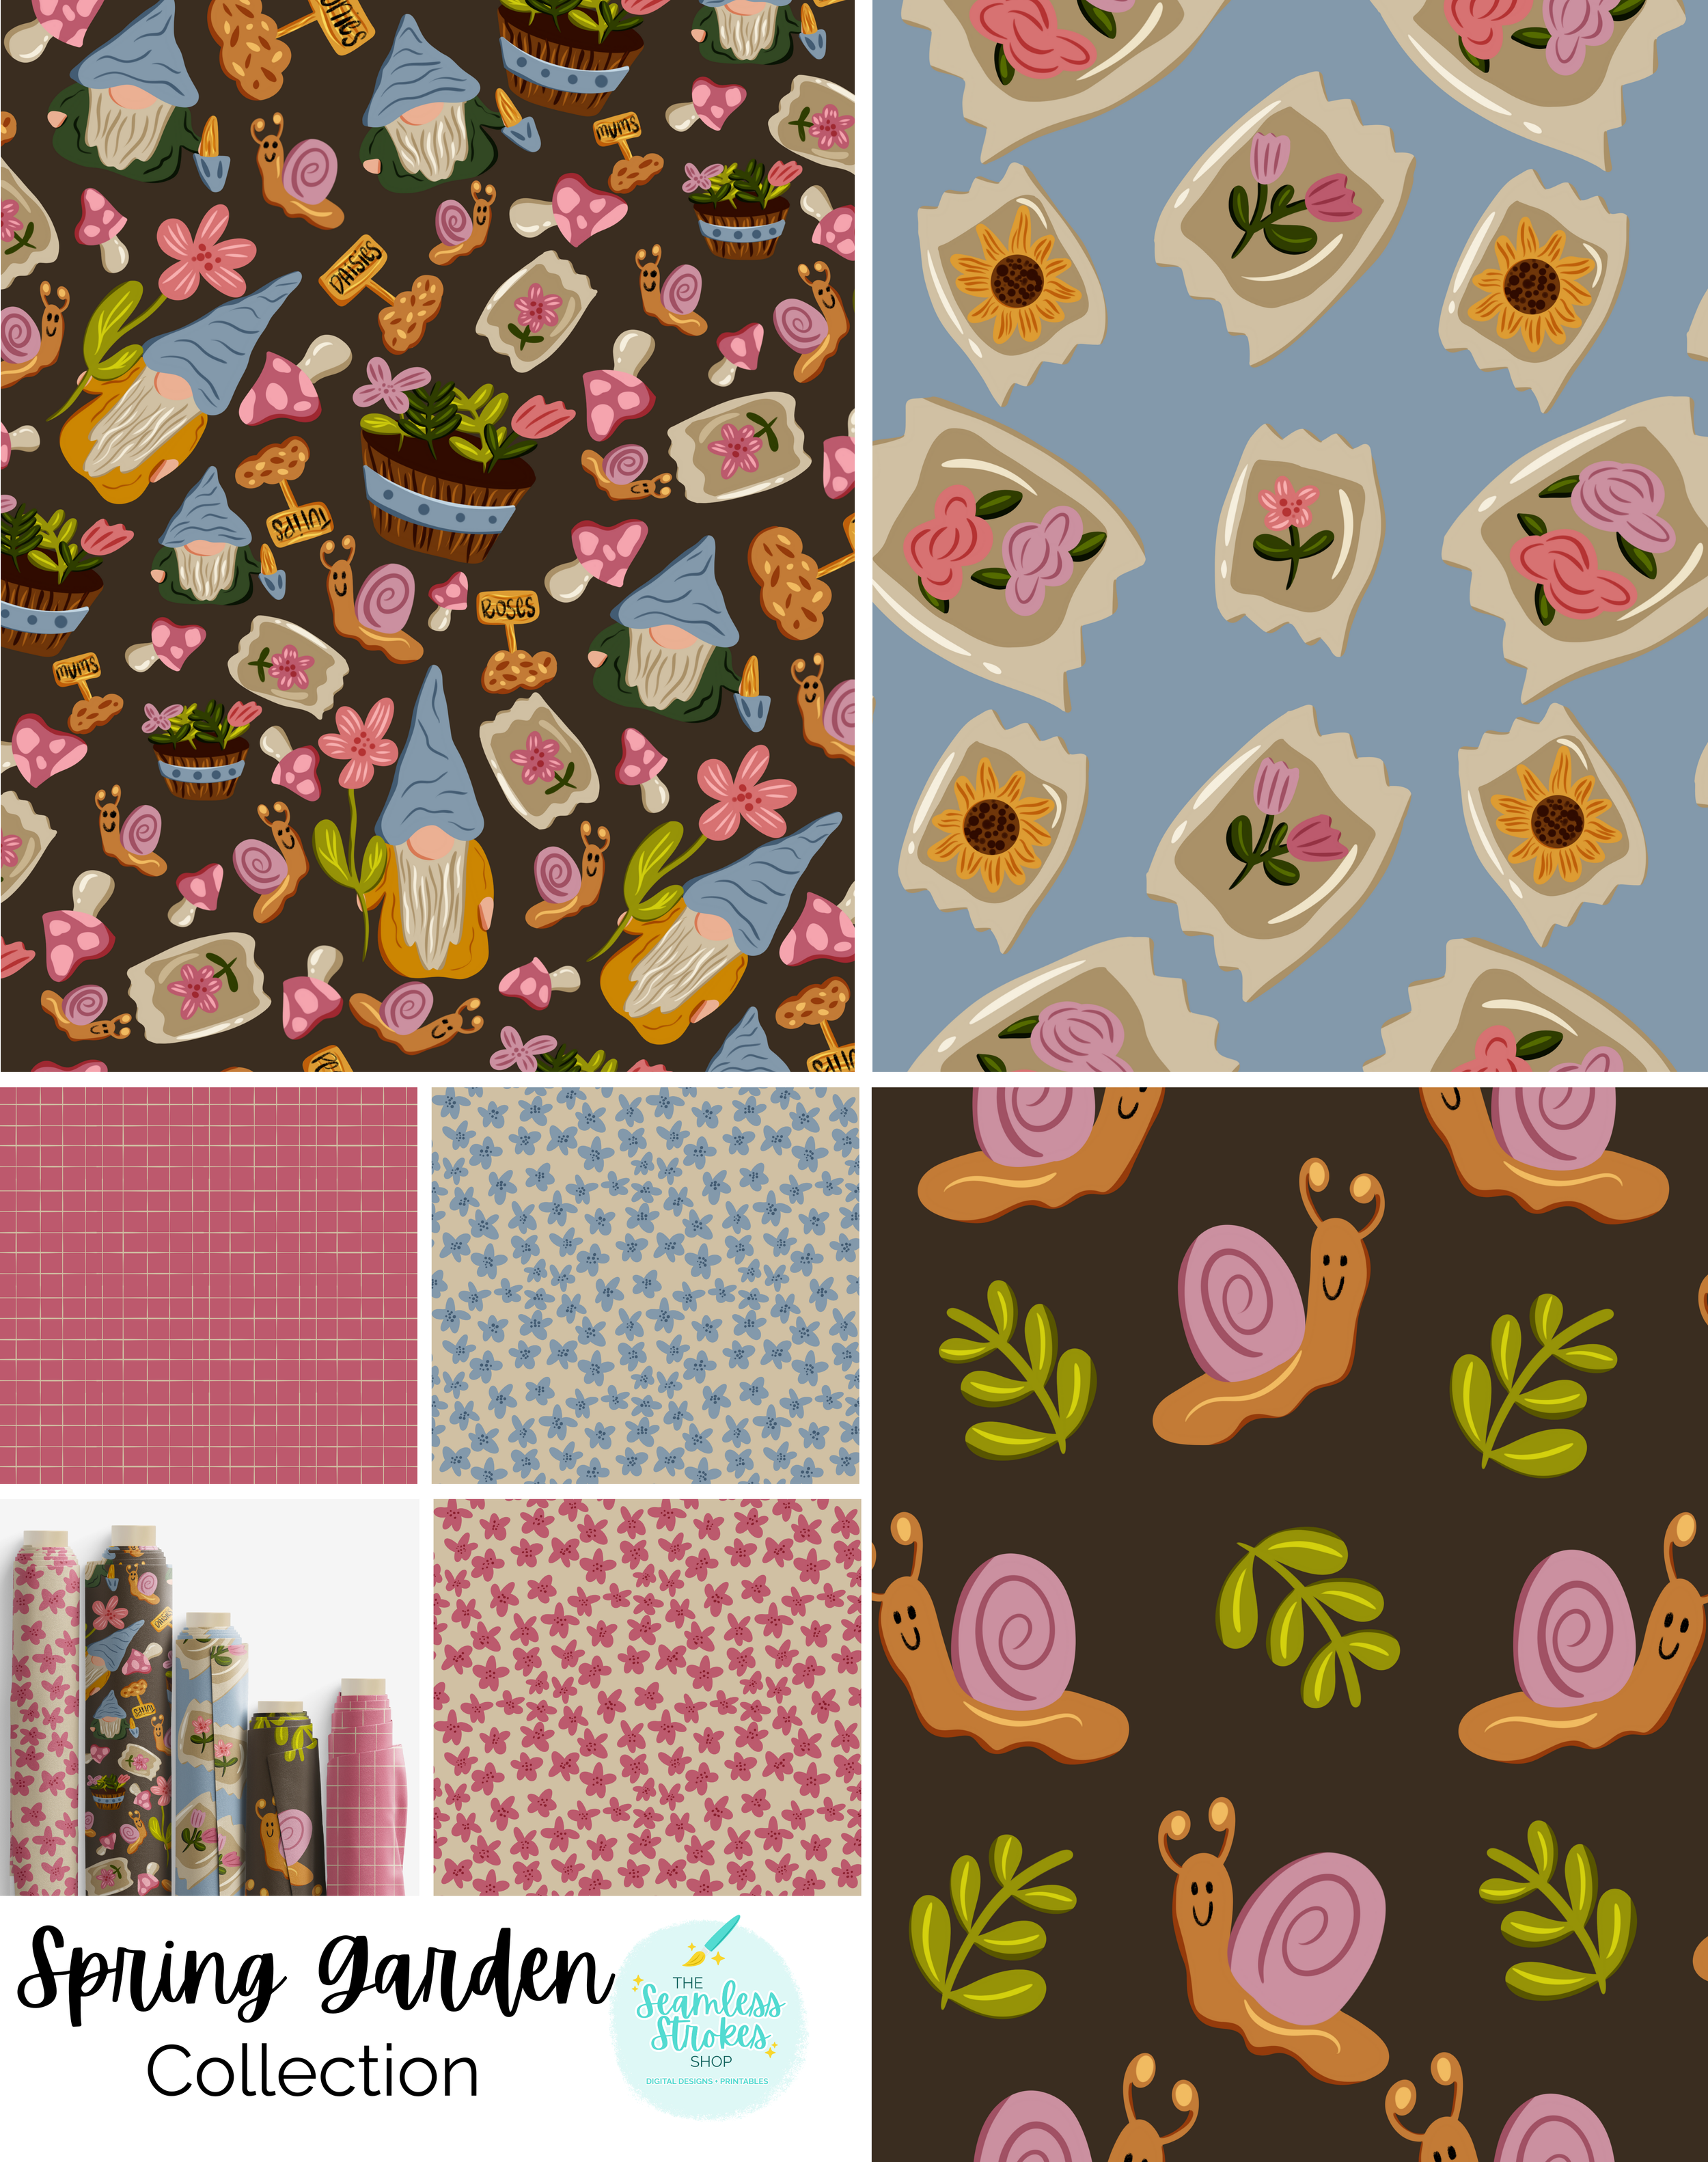
Popular Types of Blender Patterns
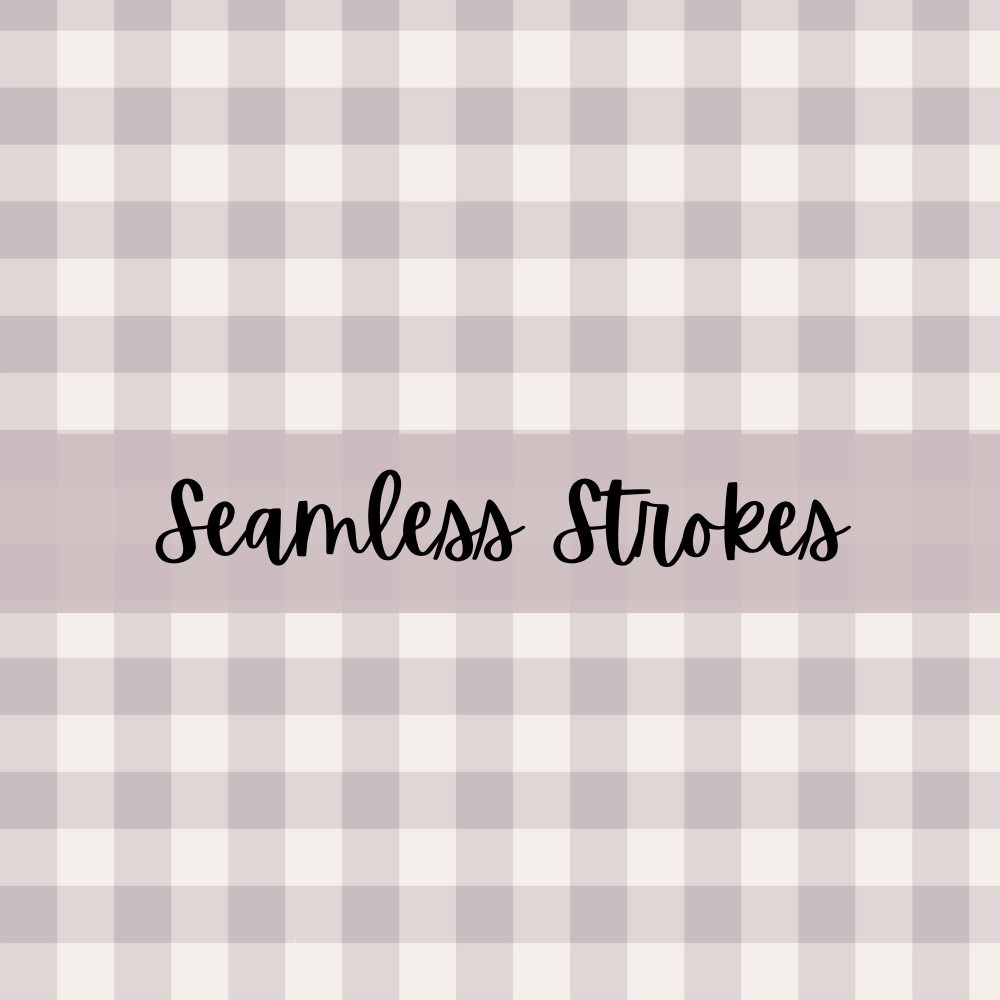
1.Ginghams/Checks
Gingham is perfect for cottagecore and holiday collections.
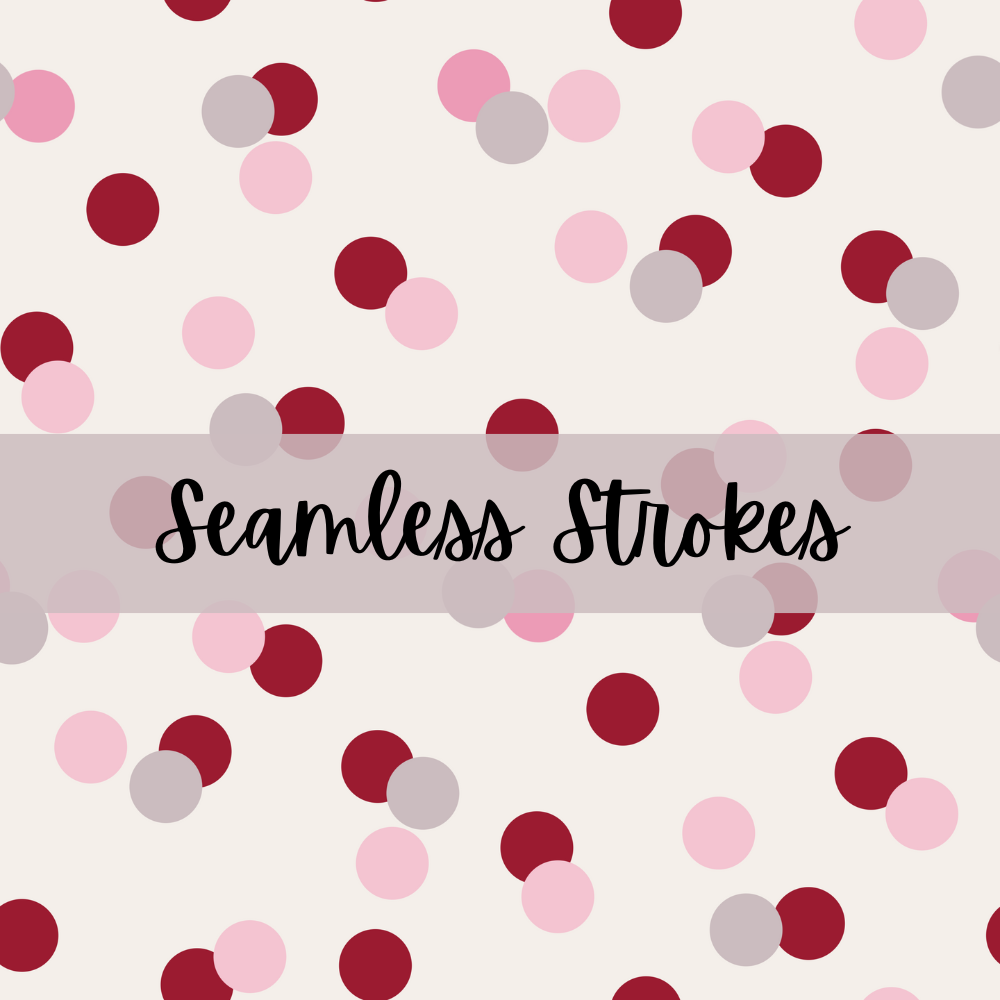
2. Dot-Based Blenders
Micro dots, confetti, and texture speckles all add movement to your collection.
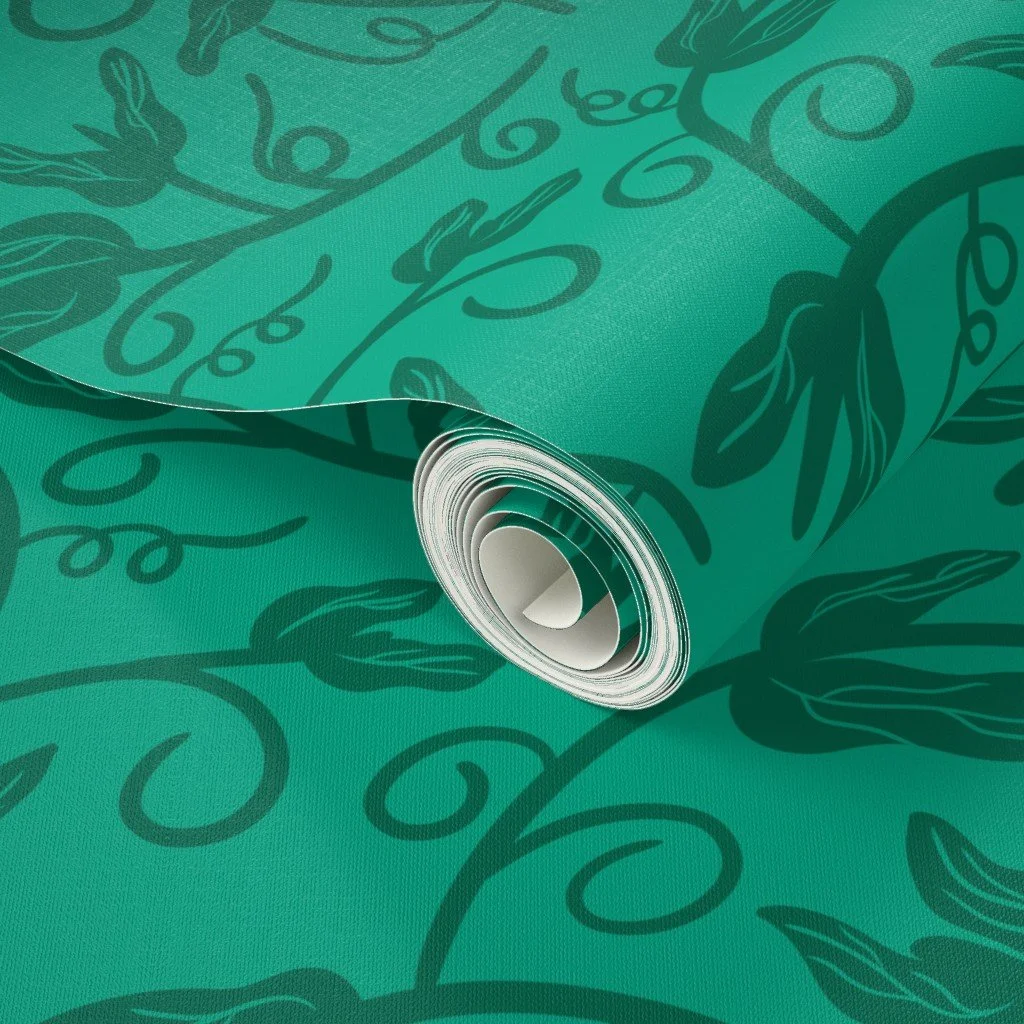
3. Tone-on-Tone Texture
This can be something as simple as trailing vines or tiny geometric repeats. This type of pattern is perfect for adding depth to your collection.
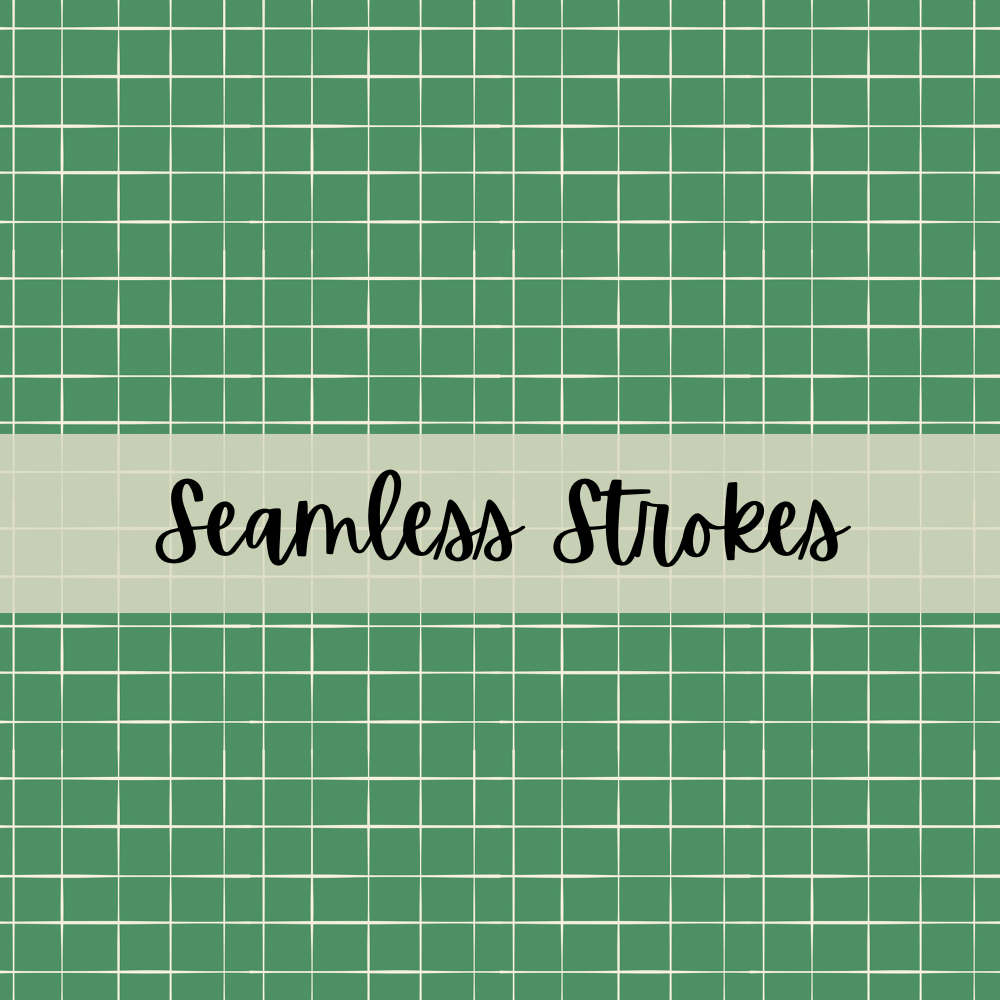
4. Checkered & Grid Blenders
Checkered patterns are very retro, while grids can be playful and work well in more graphic collections. Small checkerboards are very popular in stationery and phone cases.
5. Stripe Variations
Pencil stripes, wide stripes, and wavy stripes all bring sophistication to a collection.
How to Create a Blender Pattern (Step-by-Step)
Step 1: Choose an intent
What is your blender supporting?
Do you want it to echo a shape from your hero? Add contrast? Reinforce a color?
Having a clear purpose helps you choose the right blender to design.
Step 2: Select ONLY 1-2 motifs
Keep it easy by using minimal motifs (diamonds, dots, gingham squares, etc).
Step 3: Limit the color palette
Stick to 1 color + background OR 2 VERY close colors. This creates calm visual energy.
Step 4: Decide on a repeat structure
Blenders usually use brick, diamond, grid, or tossed repeat structures.
Step 5: Adjust spacing and style
Increase negative space, keep motifs small, avoid too much contrast.
Step 6: Test it with your hero pattern
Does it compete? Does it overwhelm? If the answer is no, and your eyes are able to rest, then you’ve create a successful blender pattern.
Blenders to Match Every Style
Hand-drawn? Wobbly dots, wavy lines, sketched marks
Retro? Try checkerboards or scalloped designs
Minimalist? Tone-on-tone, grids, pintstripes
Whimsical? Confetti or quirky shapes
I personally have a more hand-drawn, whimsical style, so textured stripes and fun polka dots are my go-to blender designs most of the time.

Tips for Making Blenders that Sell
Provide multiple colorways; neutrals are super important
Make at least 3-5 blenders per collection or 1-2 per mini-collection
Always create one super simple blender, like dots or gingham, buyers rely on those.
Go experiment with a blender pattern today! Once you master the go-to designs like gingham, dots, and confetti scatter, you will be able to add so much value to your collections.